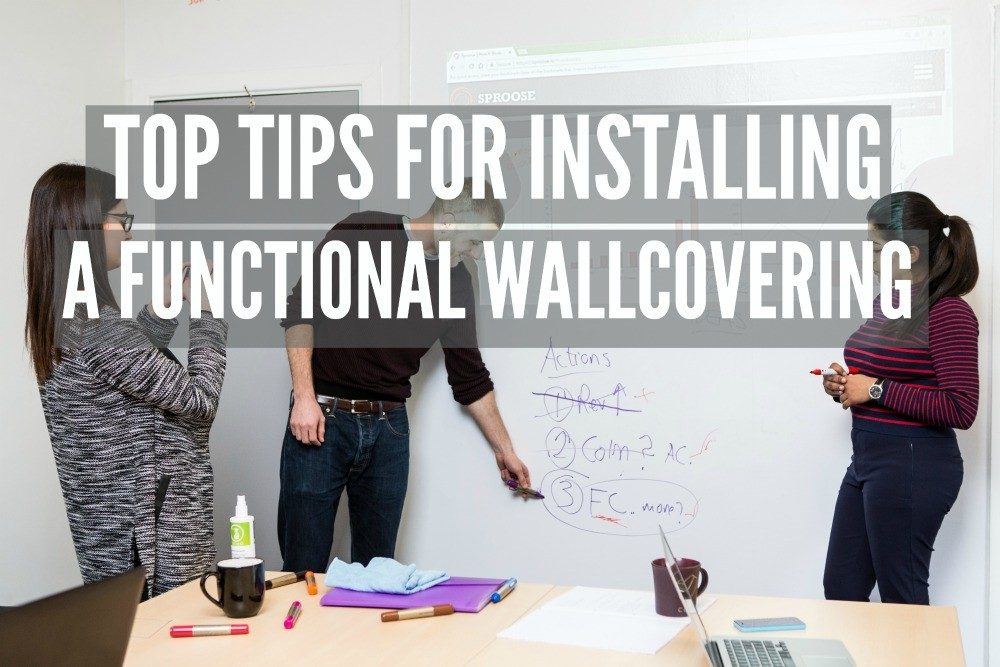
Read below to discover our top tips for installing functional wallcoverings and wallpapers to your surface.
Measure
Consider the area in which you want to install the wallcovering. Do you want to cover an entire room, an entire wall, part of a wall ? Consider hanging the wallcovering horizontally in one long strip around several walls.
Cut
Cut the wallcovering to your chosen size before hanging.
Our wallcoverings are commercial grade. Smart Dry Erase and Projector wallcoverings weight 5 kg each however Smart Magnetic Wallcovering weighs 15 kg ! This is due to the magnetic properties within the product that make it a magnetic receptive surface.
By cutting the wallcovering to size, you don’t have to carry the rolls unnecessarily.
Wallcovering Adhesive
Use a regular wallpaper adhesive when applying either Smart Dry Erase Wallcovering (whiteboard wallpaper) or 2 in 1 : Smart Projector and Dry Erase Wallcovering (whiteboard and projection screen wallpaper).
If installing Smart Magnetic Wallcovering, please use a heavy-duty adhesive to the weight of this product.
Apply two coats of the adhesive to the wall, but do not over apply.
Roll out
Starting in a corner, roll the wallcovering out along the wall. Using a wallcovering spatula, push any air and excess adhesive out from behind the material as you go.
press the entire surface of the wallcovering to the wall, pushing out all the excess.
Joints
For jointing the material, we recommend you butt the material together. The material is supplied with clean straight edges which will meet evenly.
With a new blade, cut along the pencil line and cut through both layers. Remove the excess material from behind the cut.
The material will now meet and can be worked together with a wallcovering spatula. Work the material by applying upwards and downwards pressure to each length, bringing them together.
If an area of the joint requires additional attention add extra adhesive and continue to work together.
you can fill a poor joint with normal decorators filler and sand smooth once dry. Apply a primer to the filler once dry before painting.
Allow to Dry
Allow 24 hours for our dry erase and projector wallcoverings and 48 hours for our magnetic wallcovering to fully dry.
Topcoat
Smart Magnetic Wallcovering comes pre-primed so you can use it exactly as it is, with it’s white finish.
Alternately you can paint a colour of your choice on top.
Or you could paint our one-coat whiteboard paint on top to make it writable as well as magnetic.
Smart Dry Erase Wallcovering comes in a white glossy finish so looks great in all modern workspaces. Do not topcoat.
Smart Projector and Dry Erase Wallcovering comes in a white low sheen finish. Do not topcoat.
For further advice or if you have any questions about how to install our products, or which product is best for your needs, contact us today on the numbers below.
Have you any questions regarding our products? Call us on the relevant number below:
US: 1800 932 1609 UK: 0203 5145395
IE: 01 4126200 CA: 1800 948 9438
Read our comparison between whiteboards and whiteboard wallpapers here.
Find out how you can make use of a magnetic wall in your office here.
The post Top Tips for Installing a Functional Wallcovering appeared first on Smarter Surfaces.


